Forcing HTTPS on Your Website
Once you have an SSL certificate installed on your domain, the next step is to ensure that all visitors access your site over a secure HTTPS connection. Without a redirect in place, visitors can still reach your site via plain HTTP, which means their data is transmitted unencrypted. Forcing HTTPS ensures every request is automatically redirected to the secure version of your website.
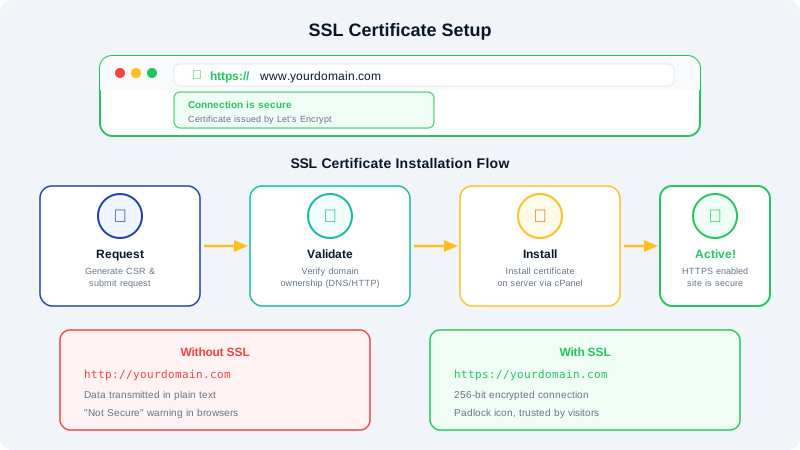
Why Force HTTPS?
- Data protection: All information exchanged between the browser and server is encrypted.
- SEO benefits: Search engines favor HTTPS websites in their rankings.
- Trust signals: Visitors see a padlock icon, increasing confidence in your site.
- Compliance: Many regulations and payment processors require HTTPS for handling sensitive data.
Method 1: .htaccess Redirect Rules
This is the most common approach for Apache-based hosting. Connect to your hosting account via cPanel File Manager or FTP and edit the .htaccess file located in your public_html directory. Add the following lines at the top of the file:
RewriteEngine On
RewriteCond %{HTTPS} off
RewriteRule ^(.*)$ https://%{HTTP_HOST}%{REQUEST_URI} [L,R=301]
This creates a permanent (301) redirect from HTTP to HTTPS for all pages on your site. Save the file and test by visiting http://yourdomain.com in your browser. You should be redirected to https://yourdomain.com automatically.
If your site is in a subdirectory, make sure the .htaccess file is in the correct directory for the redirect to apply.
Method 2: cPanel Force HTTPS Redirect
CyclebreezeHost cPanel includes a built-in option to force HTTPS without manually editing files:
- Log in to cPanel.
- Navigate to the Domains section.
- Locate your domain in the list.
- Toggle the Force HTTPS Redirect switch to the on position.
This method applies the redirect at the server level and is the simplest option for most users.
WordPress-Specific Settings
For WordPress websites, take these additional steps after enabling the redirect:
- Log in to your WordPress admin dashboard.
- Go to Settings > General.
- Change both the WordPress Address (URL) and Site Address (URL) fields from
http://tohttps://. - Click Save Changes.
If you are locked out after making this change, you can update the URLs directly in the database using phpMyAdmin by editing the siteurl and home values in the wp_options table.
Testing Your Configuration
After enabling the redirect, test thoroughly:
- Visit
http://yourdomain.comand confirm it redirects tohttps://yourdomain.com. - Check several internal pages to ensure redirects work site-wide.
- Use your browser developer tools (F12) to look for any insecure requests.
Fixing Mixed Content
Mixed content occurs when your HTTPS page loads resources over HTTP. Common culprits include hardcoded image URLs, external scripts, and embedded content. To fix this:
- Search your database and theme files for
http://yourdomain.comand replace withhttps://yourdomain.com. - Use a WordPress plugin like Better Search Replace to update URLs in the database.
- Ensure third-party embeds and scripts use HTTPS or protocol-relative URLs.
Resolving mixed content ensures visitors see a full padlock icon with no browser warnings.