How to Create and Restore Backups
Regular backups are your safety net against data loss caused by accidental deletions, failed updates, hacking attempts, or server issues. CyclebreezeHost provides automated backups as part of your hosting plan, and cPanel gives you the tools to create and restore backups on demand.
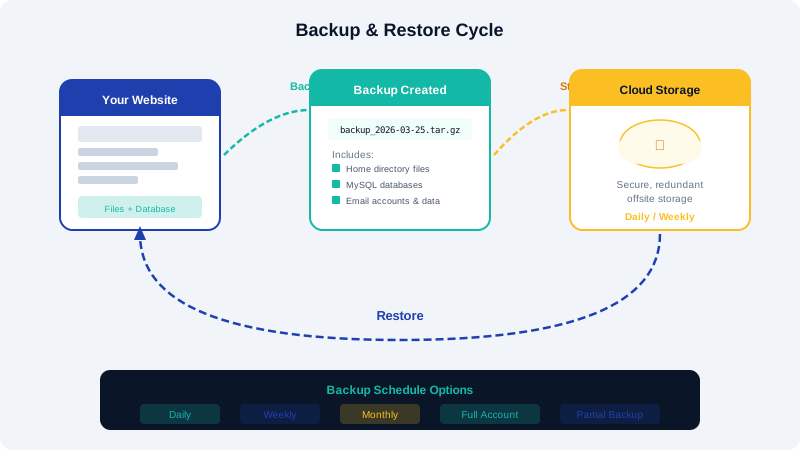
CyclebreezeHost Automated Backups
All CyclebreezeHost hosting accounts include automated daily backups that are retained for up to 14 days. These backups cover your files, databases, and email accounts. Automated backups run during off-peak hours to minimize any impact on your site's performance.
While automated backups provide excellent protection, we strongly recommend creating your own manual backups before making significant changes to your website, such as updating a CMS, modifying theme files, or migrating content.
Creating a Manual Backup in cPanel
The easiest way to create a manual backup is through the cPanel Backup Wizard:
- Log in to cPanel.
- Navigate to the Files section and click Backup Wizard.
- Click Back Up.
- Choose the type of backup:
- Full Backup: Downloads your entire account including files, databases, email accounts, and settings. Full backups cannot be restored through cPanel directly; they are intended for migration or safekeeping.
- Partial Backup: Allows you to download individual components -- Home Directory (files), MySQL Databases, or Email Forwarders and Filters.
- For a Full Backup, select the destination (Home Directory or Remote FTP Server) and click Generate Backup. You will receive an email when the backup is ready for download.
- For a Partial Backup, click the component you want and the download will begin immediately.
Downloading Your Backups
After generating a full backup, return to the Backup Wizard and click the backup file link to download it to your local computer. Store backup files in a secure location, such as an external drive or cloud storage service, separate from your hosting account.
Restoring Files
To restore files from a partial backup:
- In cPanel, go to Backup Wizard and click Restore.
- Select Home Directory.
- Click Choose File, select your backup archive, and click Upload.
- cPanel will extract and restore the files to their original locations.
Restoring Databases
- In the Backup Wizard, click Restore and then select MySQL Databases.
- Choose the database backup file (
.sql.gz) from your local machine. - Click Upload. The database will be restored, overwriting the current data in that database.
Make sure the database name in the backup file matches an existing database on your account.
Restoring Email
Email configurations such as forwarders and filters can be restored using the same Restore section of the Backup Wizard. Select the appropriate option and upload the corresponding backup file.
Best Practices
- Create a manual backup before every major change.
- Download and store backups off-server regularly.
- Test your backups periodically by restoring them to a staging environment.
- Keep at least three recent backup copies at all times.
If you need help restoring from an automated backup, contact our support team with your domain name and the date you would like to restore from.