How to Register a New Domain
Your domain name is your online identity. CyclebreezeHost makes it easy to search for, register, and manage domain names directly from your client area. This guide walks you through the entire registration process.
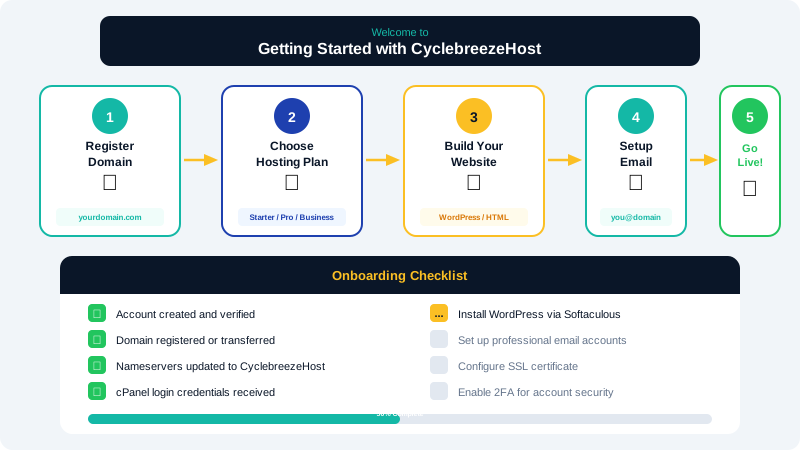
Step 1: Search for Your Domain
- Log in to your CyclebreezeHost Client Area.
- Navigate to Domains > Register a New Domain.
- Enter your desired domain name in the search field and click Search.
- The system will display availability for your chosen name across multiple TLDs (top-level domains).
Choosing the Right TLD
A TLD is the extension at the end of your domain name. Common options include:
- .com — The most popular and widely recognized. Ideal for businesses and general use.
- .net — A solid alternative if .com is taken. Often used by technology companies.
- .org — Typically associated with non-profit organizations and community projects.
- .co — A trendy, shorter alternative to .com popular with startups.
- Country-code TLDs (e.g., .us, .uk, .ca) — Great if your audience is in a specific country.
- Industry TLDs (e.g., .shop, .tech, .design) — Help communicate what your business does.
Choose a TLD that aligns with your brand, audience, and purpose.
Step 2: Configure Your Domain
Once you have found an available domain:
- Click Add to Cart next to your preferred TLD.
- Select your registration period (1 to 10 years). Registering for multiple years saves you from worrying about annual renewals.
- Choose any add-on services:
- WHOIS ID Protection — Highly recommended. This keeps your personal contact information private in the public WHOIS database.
- DNS Management — Included free with CyclebreezeHost domains.
Step 3: Enter WHOIS Information
ICANN requires valid contact information for every domain registration. You will need to provide:
- Registrant name and organization (if applicable)
- Email address (must be valid for verification)
- Phone number
- Mailing address
If you enabled ID Protection, this information will be replaced with proxy details in the public WHOIS record, keeping your personal data hidden.
Step 4: Set Nameservers
If you are hosting with CyclebreezeHost, select Use CyclebreezeHost nameservers to automatically point your domain to your hosting account. The default nameservers are:
ns1.cyclebreezehost.comns2.cyclebreezehost.com
If you plan to host elsewhere, you can enter custom nameservers or update them later.
Step 5: Complete Payment
Review your order summary, apply any promotional codes, and proceed to checkout. CyclebreezeHost accepts major credit cards, PayPal, and other payment methods.
After Registration
Once payment is processed, your domain is registered immediately. You will receive a confirmation email. Be sure to:
- Verify your email address by clicking the verification link sent by the registrar. Failing to verify may result in your domain being suspended.
- Confirm DNS is configured if connecting to an existing hosting account.
- Enable auto-renewal in your client area to prevent accidental domain expiration.
Your new domain is now ready to use. If you need help connecting it to a hosting account, check our guide on updating nameservers.