How to Use the cPanel File Manager
The File Manager in cPanel lets you manage your website files through a web browser without needing an FTP client.
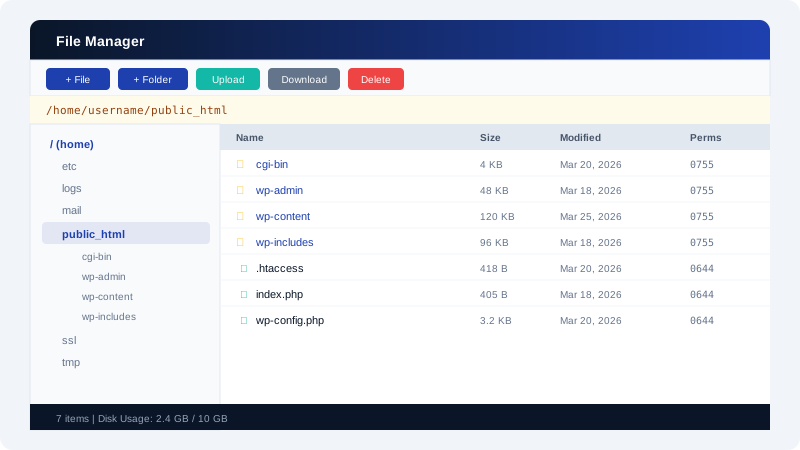
Opening File Manager
Log into cPanel and click File Manager under the Files section. By default, it opens to your home directory.
Navigating to Your Website Files
Your website files are stored in the public_html directory. Click on public_html in the left sidebar or the main file list to open it.
Common Tasks
Uploading Files
- Navigate to the directory where you want to upload files.
- Click the Upload button in the toolbar.
- Drag and drop files or click Select File to choose files from your computer.
- Wait for the upload to complete, then click Go Back to return to File Manager.
Editing Files
- Select the file you want to edit.
- Click Edit in the toolbar.
- Make your changes in the code editor.
- Click Save Changes.
Creating New Files or Folders
- Click + File to create a new file, or + Folder to create a new directory.
- Enter the name and click Create.
Setting Permissions
- Select the file or folder.
- Click Permissions in the toolbar.
- Set the appropriate permission values (755 for directories, 644 for files is standard).
- Click Change Permissions.
Extracting Archives
- Upload your
.zipor.tar.gzfile. - Select the archive file.
- Click Extract in the toolbar.
- Choose the destination directory and click Extract Files.
Tips
- The
.htaccessfile is hidden by default. Click Settings in the top-right corner and check Show Hidden Files to reveal it. - Use Compress to create a zip archive of files for downloading.
- For large file transfers (over 100 MB), use FTP instead of File Manager for better reliability.