Installing Dependencies with npm and pip
When you deploy a Node.js or Python application on CyclebreezeHost, your code's third-party packages need to be installed in the app's isolated virtual environment on the server. This article explains how to install, update, and remove dependencies using npm (Node.js) and pip (Python) from within cPanel.
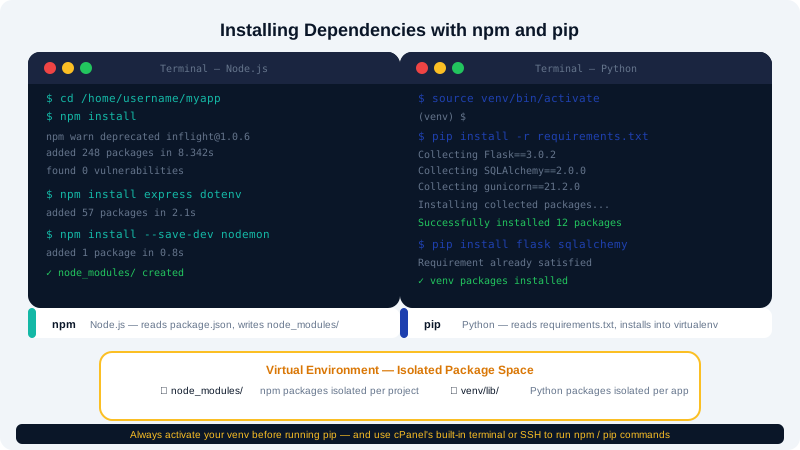
How Virtual Environments Work
Each application created with Setup Node.js App or Setup Python App gets its own isolated environment. This means:
- Packages installed for one app do not affect any other app on the account.
- You can run different package versions across separate applications.
- Uninstalling or deleting an app removes its packages without affecting the rest of the server.
Installing Node.js Dependencies with npm
Using the cPanel Button
After creating a Node.js application, the Setup Node.js App configuration page displays a Run NPM Install button. Clicking it runs:
npm install
This reads your package.json and installs all listed dependencies into the virtual environment.
Using cPanel Terminal
For more control — such as installing a single new package — open Terminal from cPanel and run:
# Activate the virtual environment first
source /home/yourusername/nodevenv/myapp/20/bin/activate

# Install all dependencies
npm install

# Install a specific package and save to package.json
npm install express --save

# Install a dev-only package
npm install nodemon --save-dev

# Remove a package
npm uninstall lodash
Replace yourusername, myapp, and 20 with your actual username, app folder name, and Node.js version number. The exact activation path is shown in the Setup Node.js App interface.
Production Installs
For a live application, install only production dependencies to keep the environment lean:
npm install --omit=dev
Installing Python Dependencies with pip
Using the Virtual Environment
- In cPanel, open Setup Python App and click the edit icon for your application.
- Copy the Enter to virtual environment command shown (it looks like
source /home/yourusername/virtualenv/myapp/3.11/bin/activate). - Open cPanel Terminal and paste that command to activate the environment.
- Install your dependencies:
# Install all packages from requirements.txt
pip install -r requirements.txt

# Install a single package
pip install requests

# Upgrade a package
pip install --upgrade flask

# Remove a package
pip uninstall boto3
Generating requirements.txt
If you developed your app locally and need to create a requirements.txt:
pip freeze > requirements.txt
Upload this file to your application root before running pip install -r requirements.txt on the server.
Keeping Dependencies Up to Date
Outdated packages can introduce security vulnerabilities. To check for outdated packages:
# Node.js
npm outdated

# Python
pip list --outdated
Update a specific package:
# Node.js
npm install package-name@latest

# Python
pip install --upgrade package-name
After any dependency change, restart your application from the Setup Node.js App or Setup Python App interface so the new packages are picked up by the running process.
Common Issues
| Symptom | Likely Cause | Fix |
|---|---|---|
MODULE_NOT_FOUND (Node) | npm install not run or wrong virtual env | Re-run npm install in the correct env |
ModuleNotFoundError (Python) | pip install not run in the app's virtual env | Activate the correct virtualenv and pip install |
| Disk quota warning | Too many dev dependencies installed | Use npm install --omit=dev |
| Version conflict | Global package version mismatch | Install the pinned version: pip install package==x.y.z |
For further assistance, contact CyclebreezeHost support at info@cyclebreezehost.com — available around the clock.