Setting Up a LAMP Stack
A LAMP stack — Linux, Apache, MySQL, and PHP — is one of the most widely used combinations for hosting dynamic websites and web applications. This guide walks you through installing each component on a CyclebreezeHost VPS running Ubuntu or Debian, then verifying that everything works together.
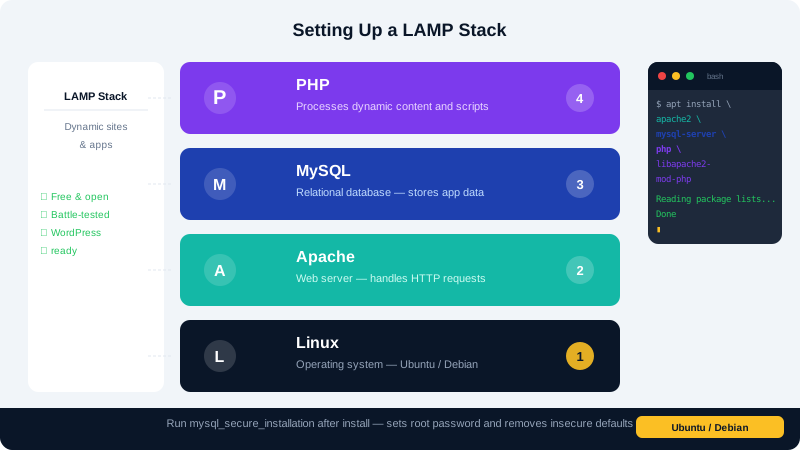
Prerequisites
- Root or sudo access via SSH.
- A VPS running Ubuntu 22.04/24.04 or Debian 11/12.
- A domain name pointed to your server IP (optional but recommended for testing virtual hosts).
Step 1: Update Your System
Before installing any packages, bring your system up to date:
apt update && apt upgrade -y
Step 2: Install Apache
apt install apache2 -y
systemctl enable apache2
systemctl start apache2
Verify Apache is running by visiting http://your-server-ip in a browser. You should see the default Apache welcome page.
Useful Apache commands:
| Task | Command |
|---|---|
| Start | systemctl start apache2 |
| Stop | systemctl stop apache2 |
| Restart | systemctl restart apache2 |
| Reload config | systemctl reload apache2 |
| Check status | systemctl status apache2 |
Step 3: Install MySQL
apt install mysql-server -y
systemctl enable mysql
systemctl start mysql
Run the security wizard to set the root password and remove insecure defaults:
mysql_secure_installation
Follow the prompts: set a strong root password, remove anonymous users, disallow remote root login, and remove the test database.
To log in to the MySQL shell:
mysql -u root -p
Create a dedicated database and user for your application:
CREATE DATABASE myapp;
CREATE USER 'myuser'@'localhost' IDENTIFIED BY 'StrongPassword123!';
GRANT ALL PRIVILEGES ON myapp.* TO 'myuser'@'localhost';
FLUSH PRIVILEGES;
EXIT;
Step 4: Install PHP
Install PHP and the most commonly needed extensions:
apt install php libapache2-mod-php php-mysql php-cli php-curl php-gd php-mbstring php-xml php-zip -y
Check the installed version:
php -v
Create a test file to confirm PHP is processed by Apache:
echo "<?php phpinfo(); ?>" > /var/www/html/info.php
Visit http://your-server-ip/info.php — you should see the PHP information page. Delete this file after testing as it exposes server details:
rm /var/www/html/info.php
Step 5: Configure a Virtual Host
To host a specific domain, create a virtual host configuration:
nano /etc/apache2/sites-available/yourdomain.conf
Paste the following, replacing yourdomain.com with your actual domain:
<VirtualHost *:80>
    ServerName yourdomain.com
    ServerAlias www.yourdomain.com
    DocumentRoot /var/www/yourdomain
    ErrorLog ${APACHE_LOG_DIR}/yourdomain-error.log
    CustomLog ${APACHE_LOG_DIR}/yourdomain-access.log combined
</VirtualHost>
Create the document root and enable the site:
mkdir -p /var/www/yourdomain
a2ensite yourdomain.conf
a2dissite 000-default.conf
systemctl reload apache2
Step 6: Enable HTTPS
Once your domain is resolving, install Certbot to add a free SSL certificate:
apt install certbot python3-certbot-apache -y
certbot --apache -d yourdomain.com -d www.yourdomain.com
See the full guide on Installing a Free SSL Certificate with Certbot for detailed steps.
Troubleshooting
- Apache won't start: Check for config errors with
apache2ctl configtest. - PHP not rendering: Confirm
libapache2-mod-phpis installed and runsystemctl restart apache2. - MySQL access denied: Double-check your username, password, and that you granted privileges with
FLUSH PRIVILEGES.
For further assistance, contact CyclebreezeHost support at info@cyclebreezehost.com or open a ticket in the Client Area at https://clients.cyclebreezehost.com.